
Synthetic Turf Putting Green Installation Tips
May 2, 2018
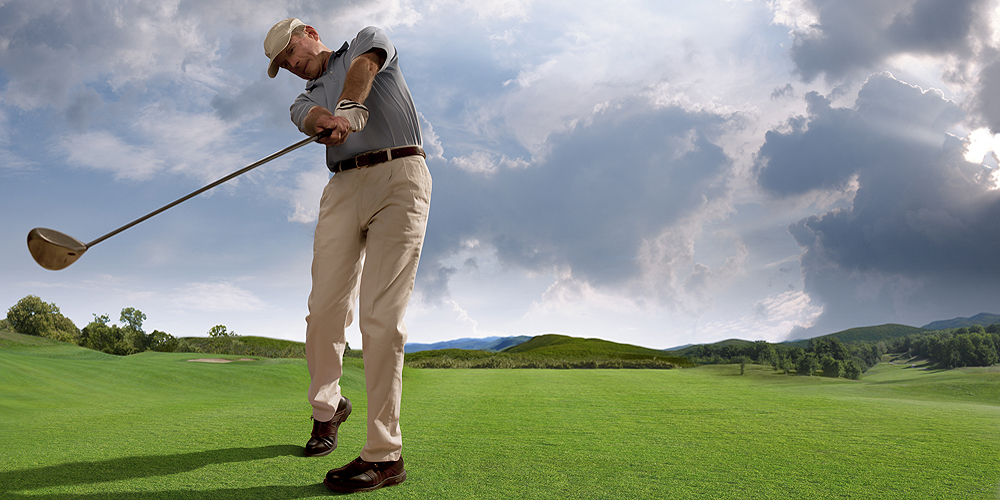
Are you a golf fan? Looking for a way to practice your putt even when you can’t get to the course? If so, install a synthetic turf putting green in your own backyard. Fake grass is the ideal surface material for this project. There are styles designed specifically for golf, so the blade length will always be right. On top of that, you never need to water or mow a synthetic turf putting green. It’s a fairly small investment you’ll enjoy for years. If you’re planning to add a synthetic turf putting green to your backyard, our team at Watersavers Turf will help.
How to Install a Putting Green with Artificial Golf Turf
With a little bit of time and expertise, you can install your artificial golf turf putting green yourself. Just make sure you understand the process. Start by consulting with experts to ensure you’ve chosen the ideal style of artificial golf turf for your plans. Again, this surface material comes in many different styles. You want to use one that was made specifically to serve as artificial golf turf.
To install the putting green, follow these steps.
Making an Outline
Start by making an outline of the green. Try to find a flat area of the lawn for it. The typical putting green has a basic kidney bean shape. That said, if you’d prefer a straight green, or if you have limited space, you can create an outline that’s more rectangular. You may want to sketch out a to-scale drawing that shows what the finished product will look like in relation to other yard features.
To make the outline, simply trace it out with a garden hose. Once you’re happy with the size and shape, paint a permanent line around it on the grass. Dig the entire space to a depth of about four inches. For the best results, apply weed killer. Use a level throughout the process to ensure the surface remains even.
Filling in the Space
Fill in the space with crushed granite or gravel. Tamp it regularly to maintain an even, level height. Wetting the gravel with your hose after tamping will help compact it.
Wherever you want a hole, place a durable cup with a rim about the size of a golf hole into the base material. Fill these cups in with quick-drying concrete. After it dries, you’re ready to start installing the turf.
Finishing it Up
Before adding the fake grass, smooth out the surface and sweep a layer of sand over it. Then you can simply roll the turf over the area. Smooth any creases that develop. It’s best to trim the roll of turf to the size and shape of the green beforehand with a utility knife.
For a DIY project, you don’t need to use an adhesive to keep the turf in place. Simply spreading fine quartz or a similar material over it with a seed spreader, then sweeping it across the surface, will weigh it down. That said, you may want to hire a contractor to handle this job if you’d prefer the turf to remain in place more reliably. They’ll use special tools to adhere it.
Once the turf is installed, find the areas where the holes were, and cut away the turf with a utility knife.
You can also install steel or paver edging around the base to make the putting green stand out from the surrounding lawn.
The Benefits of a Sports Turf Putting Green
Fake sports turf is the best surface material for this project. Installing and maintaining a live grass putting green is too much of a chore. Live grass blades must be extremely short to ensure golf balls roll across them easily. That means you’ll have to constantly mow the grass. With sports turf, the blades always look, feel, and function the way they do when you first install it. Sports turf also drains water more easily than natural grass. That means there’s less of a chance that rain will prevent you from using your putting green.
After you’ve finished it, you may want to customize the green further. The following are some ways to do so.
Add Golf Flags
What’s a putting green without authentic golf flags? They complete the project. That’s why we’re happy to supply them.
Install Seating
If any friends or family members also like to golf, you can be sure your backyard project will be a hit the next time they visit. In fact, it may get so much attention that you need to take turns using it.
If so, adding some seating is a good idea. A bench works perfectly, but you may want to add extra features, like an outdoor bar where you can serve drinks in between putts. Artificial grass is also a perfect surface option if you want to convert an area of your lawn near the green into a bar.
Add a Sign
Real golf courses have signs at the start of each hole. Sometimes they just tell you what number hole you’ve reached on the course, but often, they have specific names.
Consider adding a sign like those. Doing so lets you personalize the space while making it look even more like an actual golf course.
Decorate
If you want to keep it simple, adding some flowers and greenery to the area surrounding the green is an easy way to highlight it on your lawn. Putting up extra lights lets you enjoy practicing your putt no matter what time it is.
To get started on this project, head to one of Watersavers Turf’s SF Bay Area locations. We’ll provide the material and advice you need to turn your plan into a reality. Buy from us, and we’ll also refer a contractor if you’d prefer to let an expert handle the job. We’ll even offer free 1’ x 1’ samples of our turf options.
If you can’t make it to us, we’ll ship them to you. Watersavers Turf ships to any spot in the Continental United States. To learn more, call us toll-free at 844-974-8873. We’re also happy to chat online. While you have us, remember to ask about our free estimates!
A backyard putting green is the ideal project for any golfer. Start yours today. We’ll help.
Leave a Comment